For Homes
Flashing failures show up as ceiling stains, rusted chimney collars, and cracked vent boots. The joint letting water in is found and rebuilt.
- Ceiling stain after rain
- Rusted chimney flashing
- Cracked vent boot
Roof flashing repair Urbandale homeowners need starts at the joint shingles cannot protect. When water finds a way past a roof, the flashing is the usual entry: chimney collars, wall steps, valleys, skylight curbs, and vent boots. This page covers chimney flashing, step flashing, and valleys, with each joint rebuilt and hose-tested rather than patched over.
 Hose-test every jointMeter the ceilingPhoto the repair
Every flashing job covers the full joint, not just the visible piece. Here is what is in the scope, so the work is visible before it starts.
The flashing and the shingles around it are inspected, a moisture meter runs on the ceiling below, and the suspect area is hose-tested. The written scope names the joint and the materials before any work starts.
New metal, rubber, or membrane flashing matched to the roof type, plus the fasteners and sealant the manufacturer specifies. Old flashing that has already failed is not reused. The materials are listed in the scope.
New ice and water shield goes under the flashing joint on every job. It is the backup layer that catches any water that gets past the flashing. The City's adopted 2018 IRC requires an ice barrier at the eaves, extending at least 24 inches inside the exterior wall line, and at least 36 inches along the slope on roofs of 8:12 pitch or steeper.
Once the old flashing is off, the sheathing is checked for rot. Soft or delaminated decking is replaced before the new flashing goes down. Photos of anything found are shared before proceeding.
The flashing is fastened with the right nails or screws for the material and every lap is sealed with manufacturer-approved sealant. Step flashing is woven into each shingle course so water sheds over the joint, not behind it.
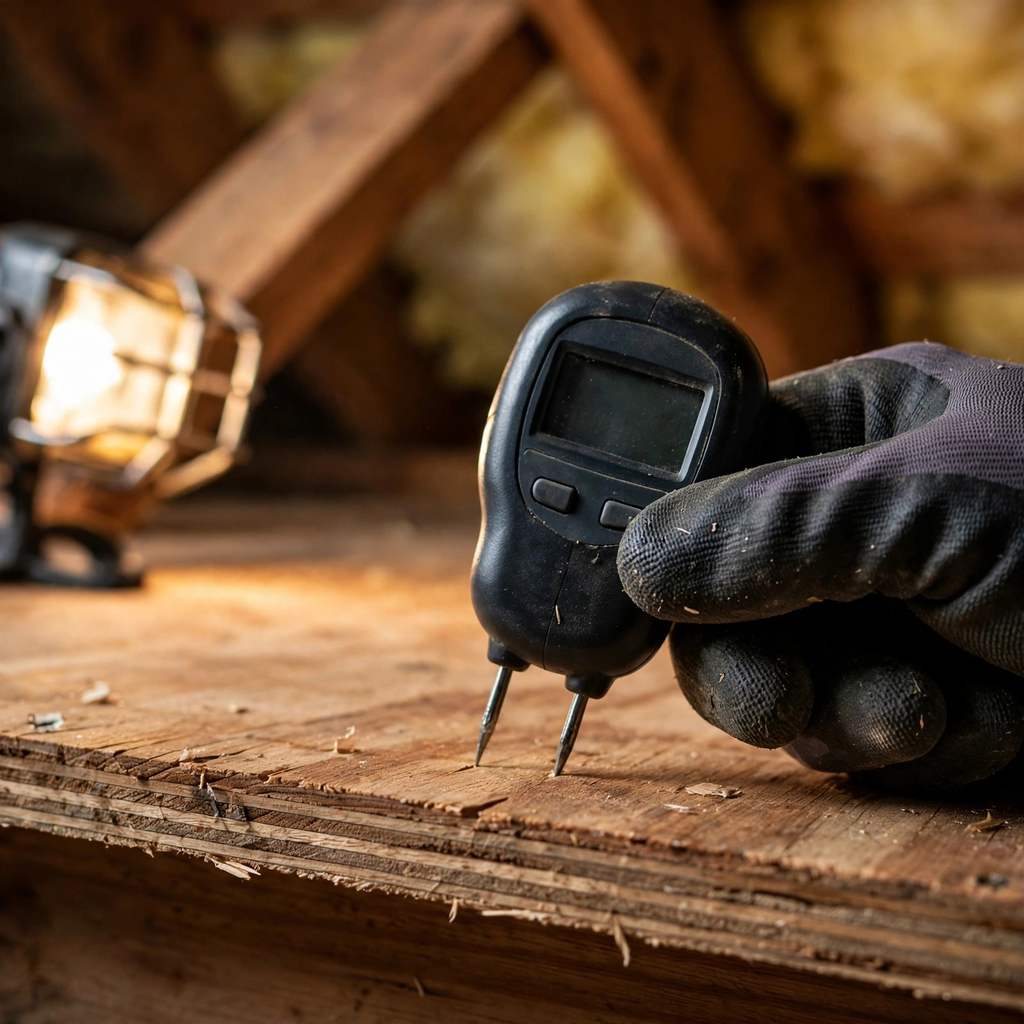
The finished joint is hose-tested and the ceiling below is checked with a moisture meter. Photos of the work and a written summary of what was replaced follow. If it reads wet, the joint is reworked until it reads dry.
The approach is the same for a home and a business. What changes is the access, the schedule, and who needs the paperwork.
Flashing failures show up as ceiling stains, rusted chimney collars, and cracked vent boots. The joint letting water in is found and rebuilt.
Commercial roofs have more penetrations and less tolerance for leaks. Every curb and wall joint is inspected and the work is arranged around business hours.
A plain-language look at what roof flashing repair involves and when it is needed.
See how it worksRoof flashing repair in Urbandale is the work of fitting and sealing the metal, membrane, and rubber components that keep water out of the places shingles cannot cover. Flashing runs along chimneys, sidewalls, valleys, skylights, vents, and drip edges. Each piece is cut, bent, and layered so water sheds over the joint instead of soaking into the deck. Every seam gets the right fasteners, sealant, and overlap, and the flashing is set into ice and water shield before the shingles go back down. The flashing rules in the 2018 IRC, section R905.2.8, govern how these joints are built.
Urbandale homes take a beating from freeze-thaw cycles, spring hail, and wind-driven rain. Flashing failure is one of the most common sources of a roof leak, especially on older chimneys and skylights. A stain on the ceiling after a storm is the cue to call. The scope states plainly whether the flashing can be repaired or needs a full rebuild. The ceiling leak post explains how a joint failure shows up inside, and the small leak post covers what can be done before calling.
Flashing is the joint shingles cannot cover, so it is where most roof leaks start.
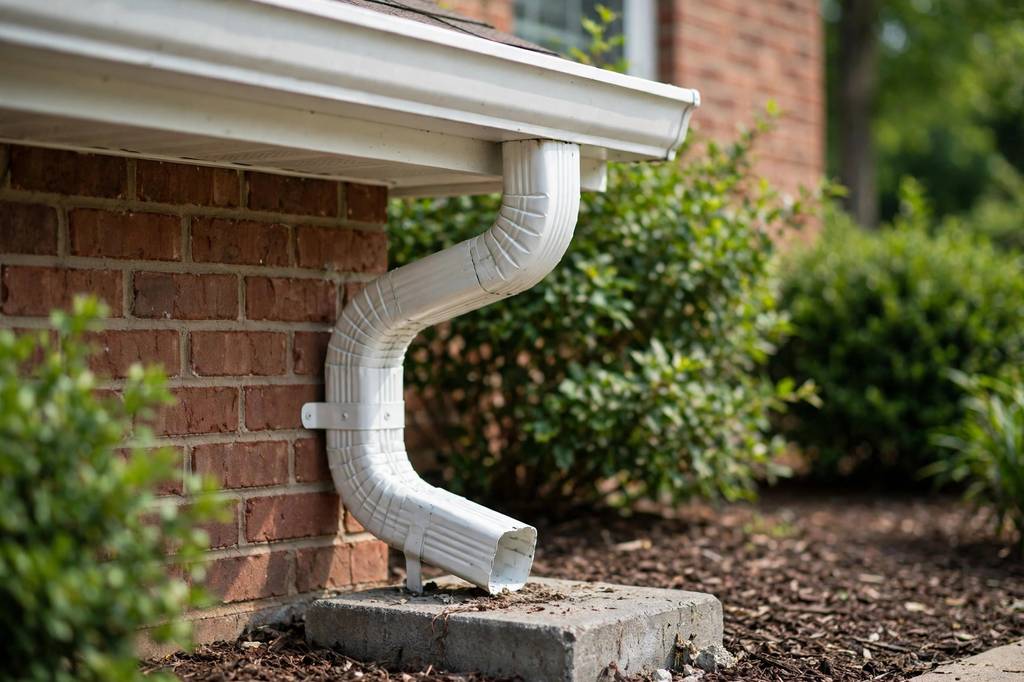
The job stays predictable. Here is what happens from the first call to the final walkthrough, so the work on the roof is visible throughout.
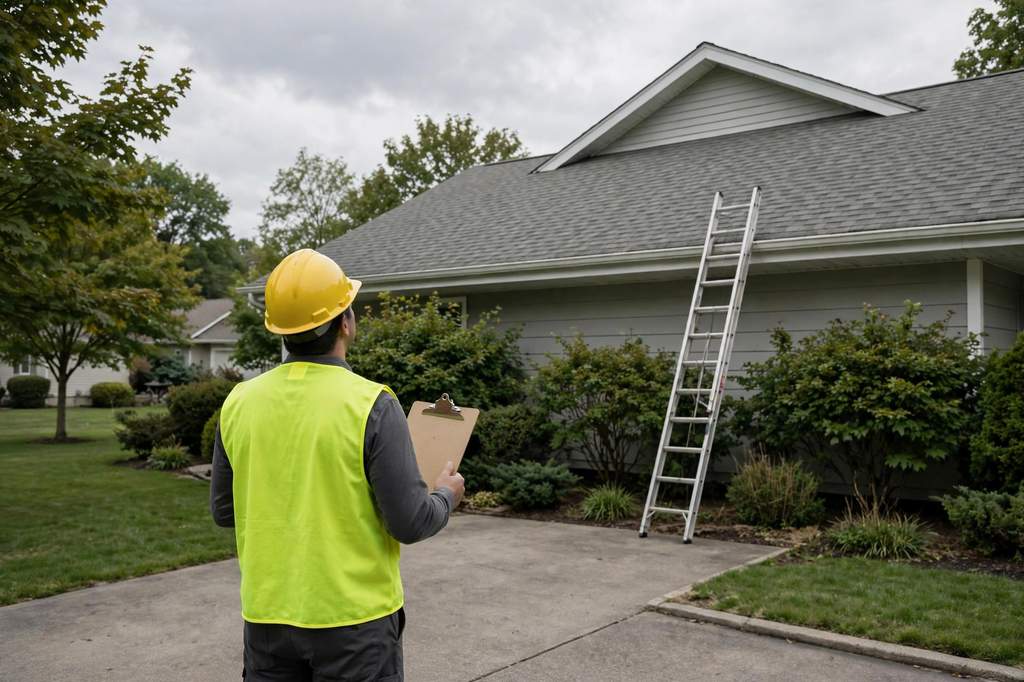
The roof is walked, every flashing joint is checked, and a moisture meter runs on the ceiling below any stain. A written scope lists the materials and the work before starting, and states whether a repair will do the job instead of a full replacement.
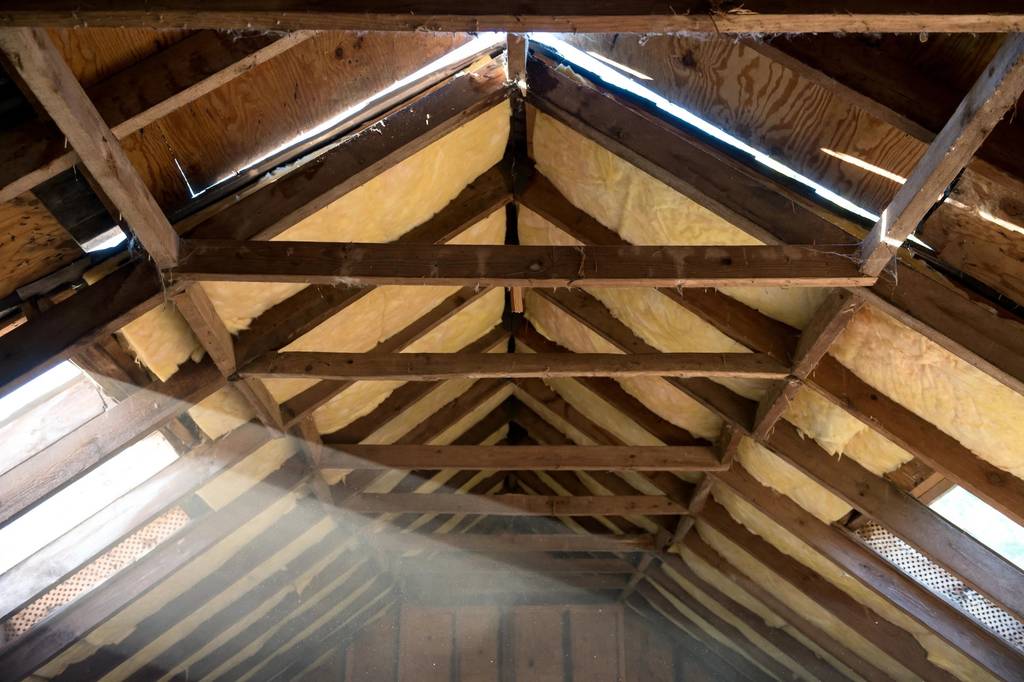
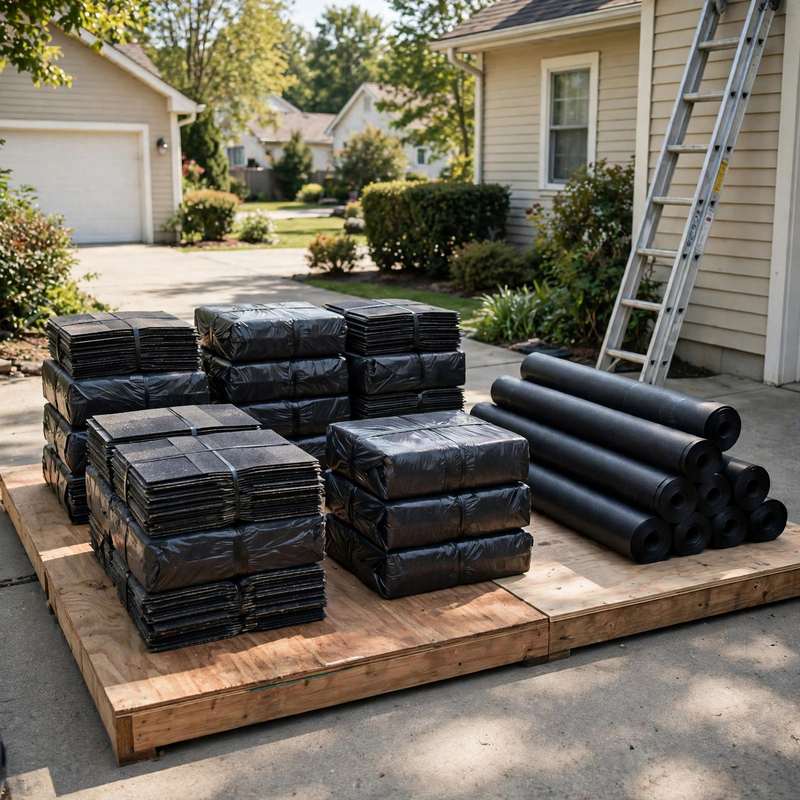
The flashing is matched to the roof type: painted steel for asphalt shingles, copper or lead for slate and tile, membrane details for flat roofs. Samples and the manufacturer spec sheet are shown, and materials are ordered so the job does not sit waiting on a delivery.
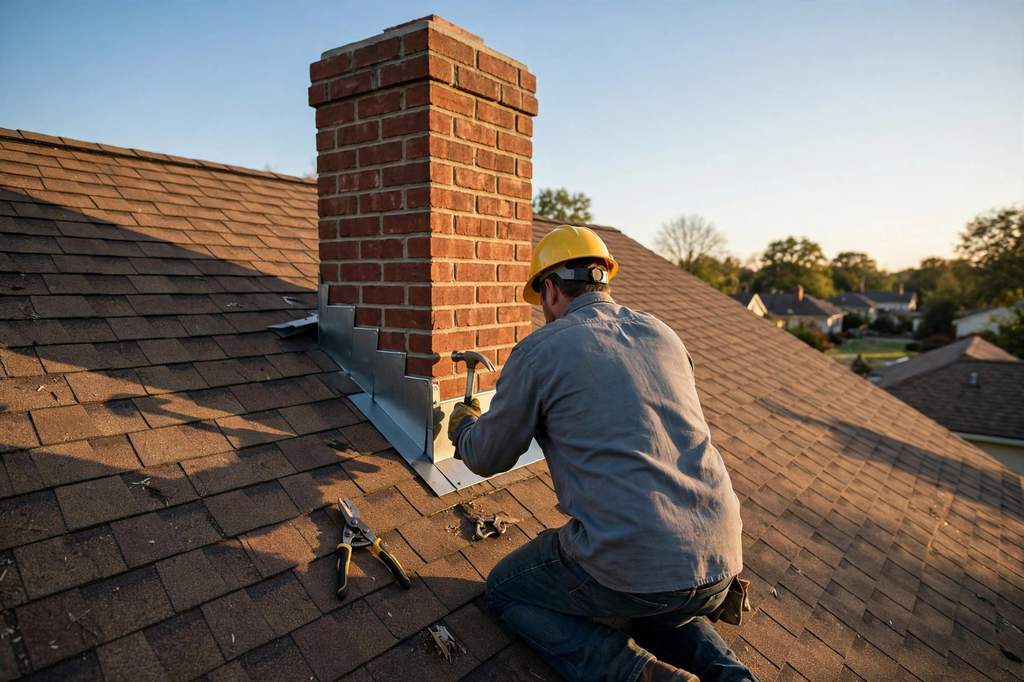
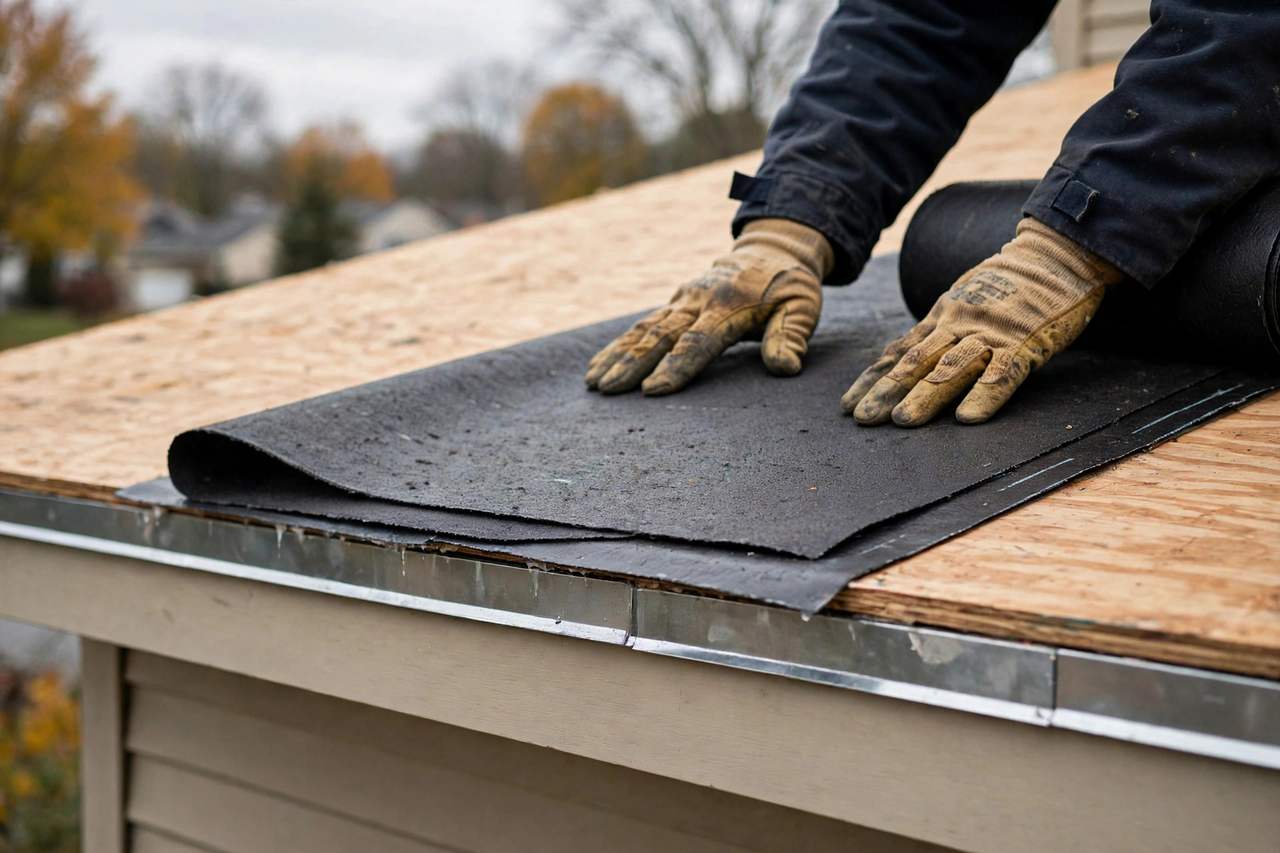
Landscaping is protected, the roofing ladder is set, and the old flashing and the shingles around it are stripped. The deck is inspected for rot and soft sheathing is replaced. Then new ice and water shield is laid under the joint before anything goes back down.
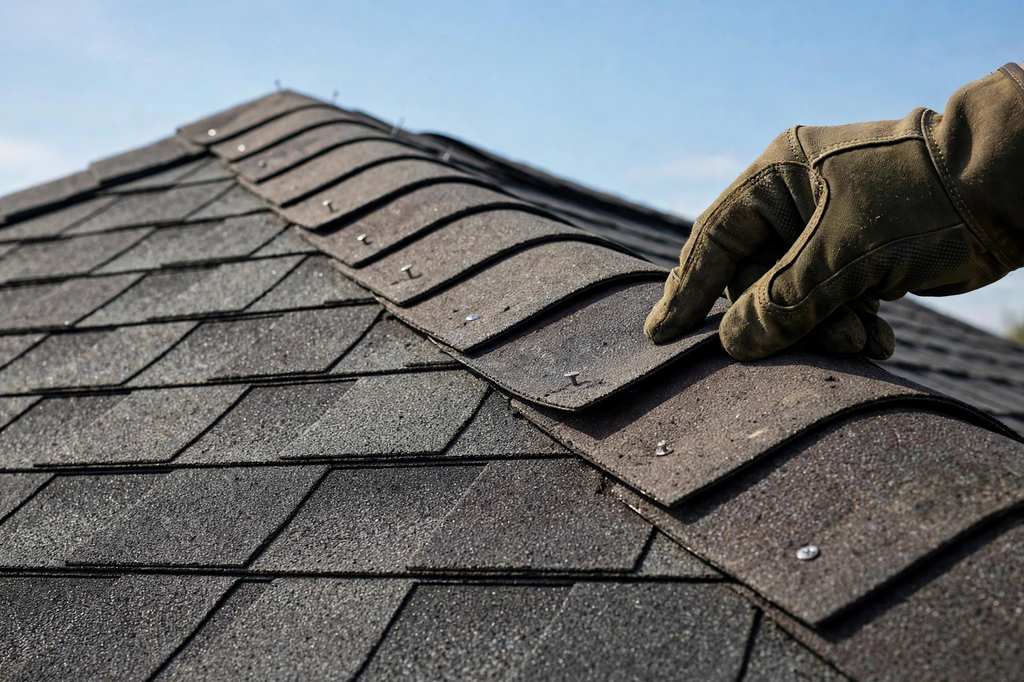
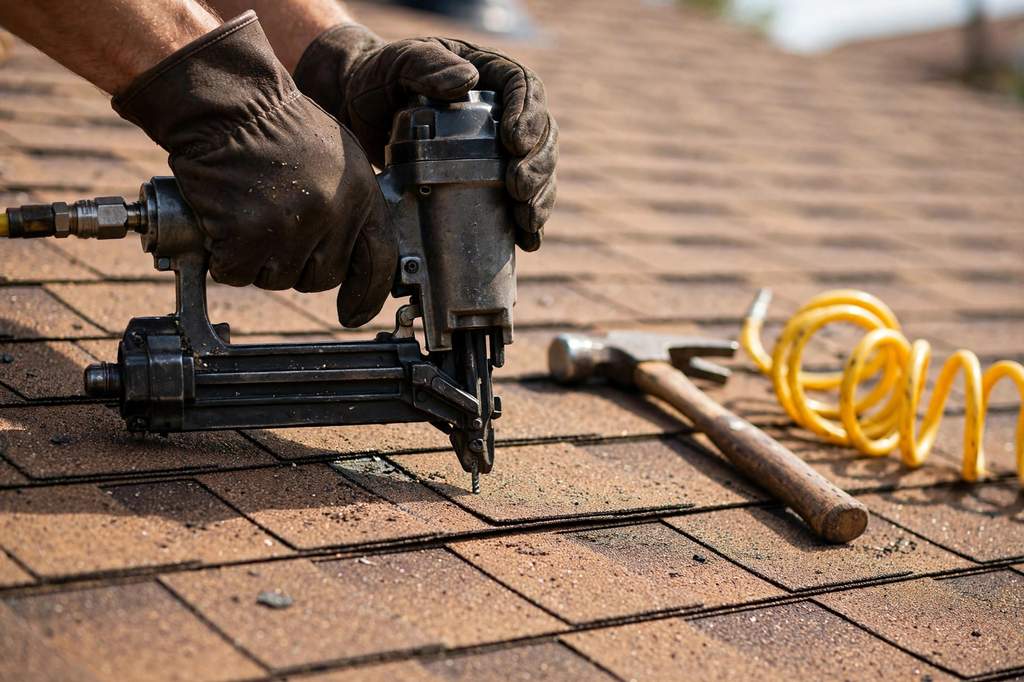
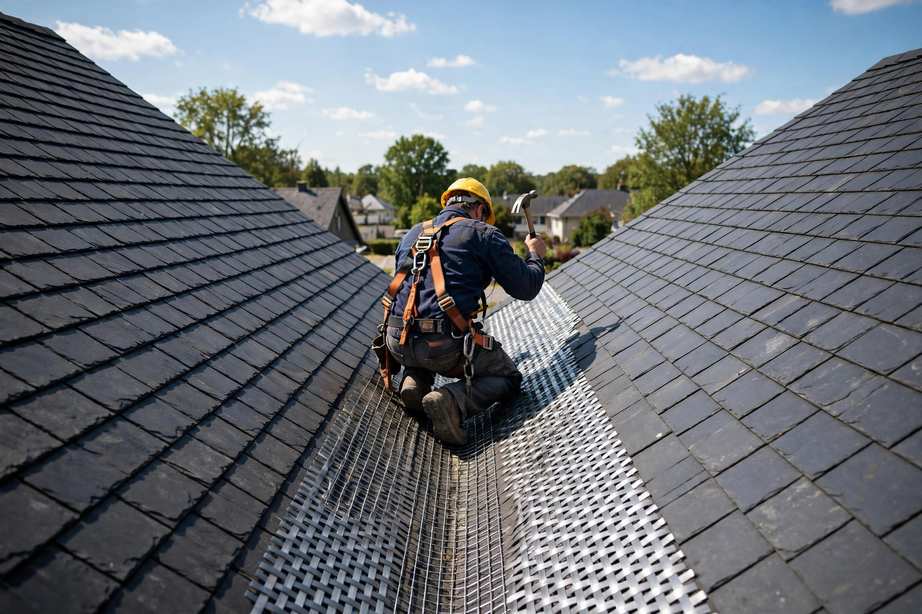
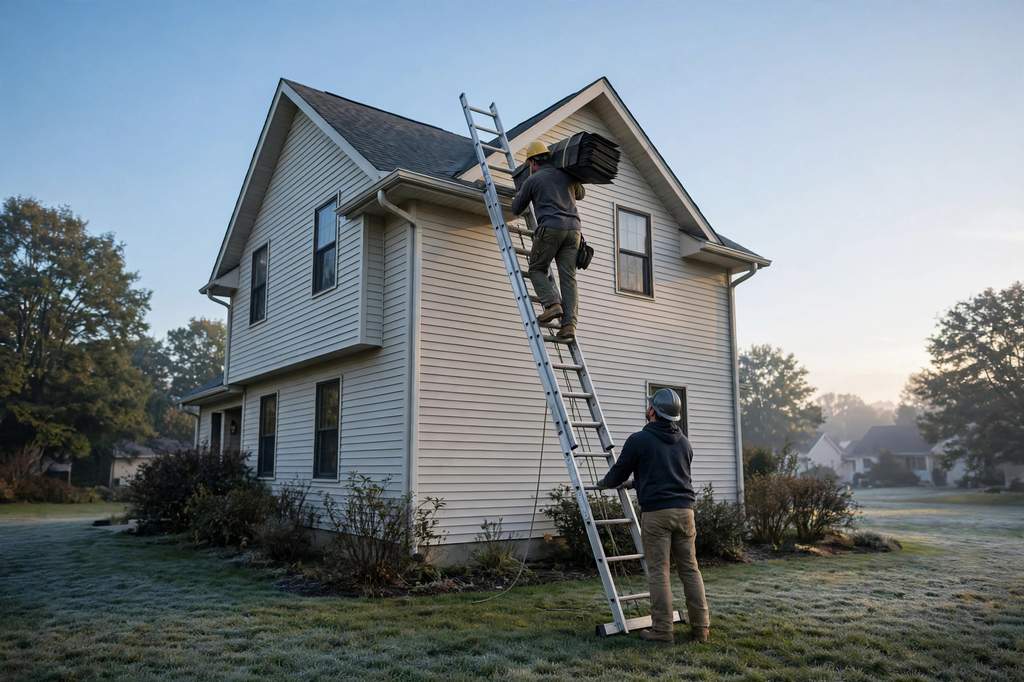
Each piece is cut and bent on site with a shingle cutter and hand brake, then fastened with a roofing nail gun and the laps sealed. Step flashing is woven into each shingle course. Chimney and skylight collars are set in sealant and mechanically fastened.
Before leaving, the joint is hose-tested and the ceiling below is checked with a moisture meter. Photos of the finished work and a written summary of what was replaced are shared. If anything reads wet, the joint is reworked until it reads dry.
Move across a circle, or focus it and press Enter, for an illustrative thermal view of the photograph.
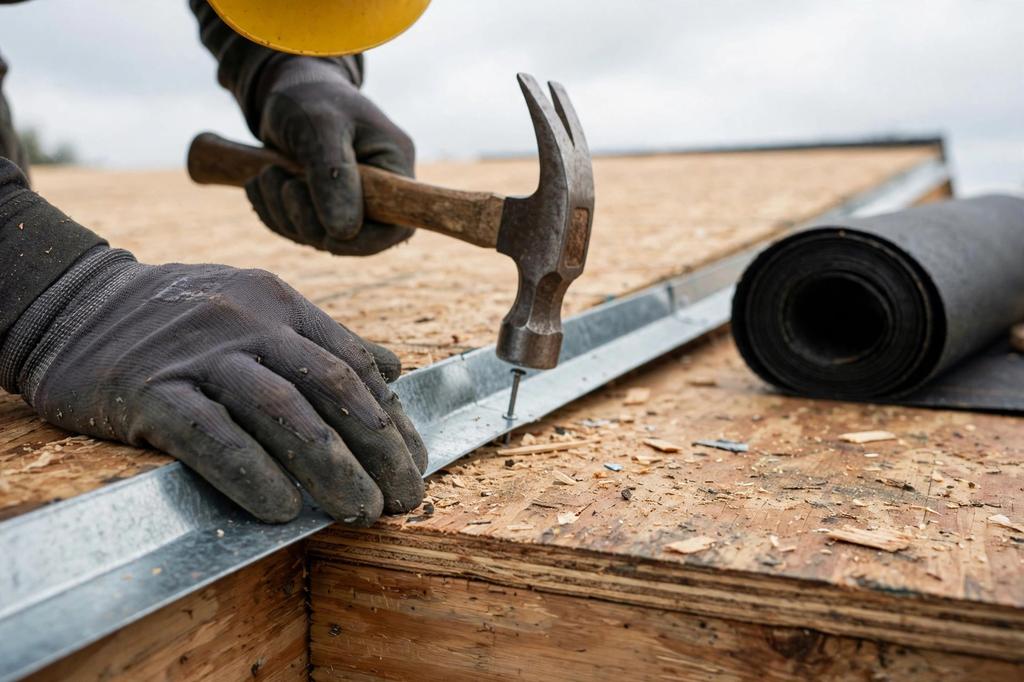
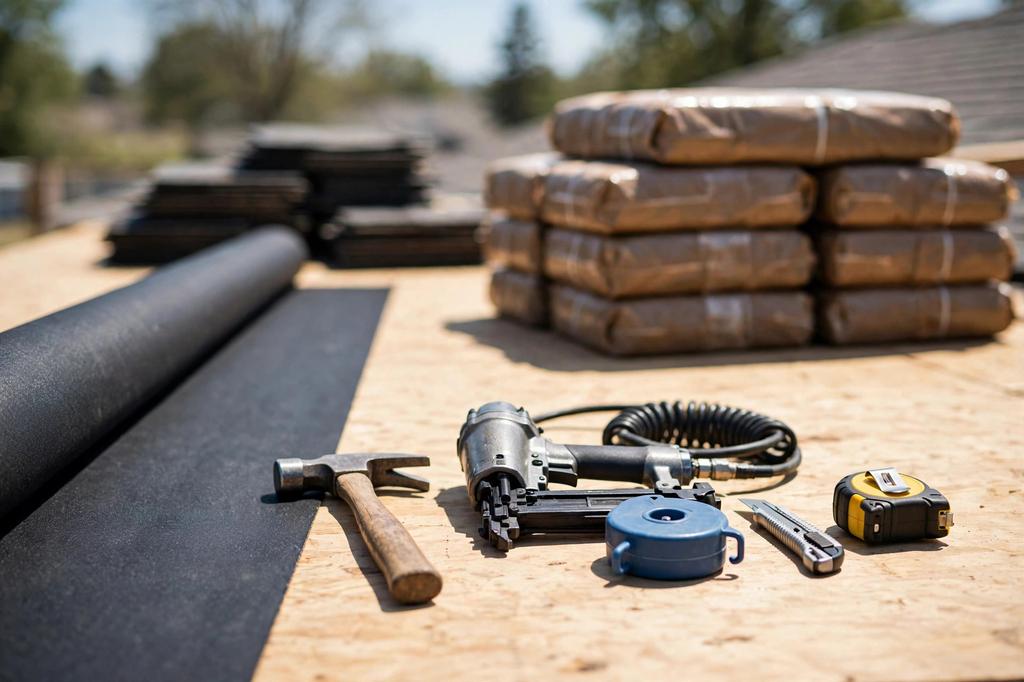
Shingles and flashing are fastened with the right nail type and depth for the material. The nail gun speeds up the shingle work; the hammer handles the hand-nailing where the gun cannot reach.
Metal flashing is cut and bent on site to fit the exact joint. The hand brake forms clean bends and hems so the flashing sits tight against the masonry or wall.
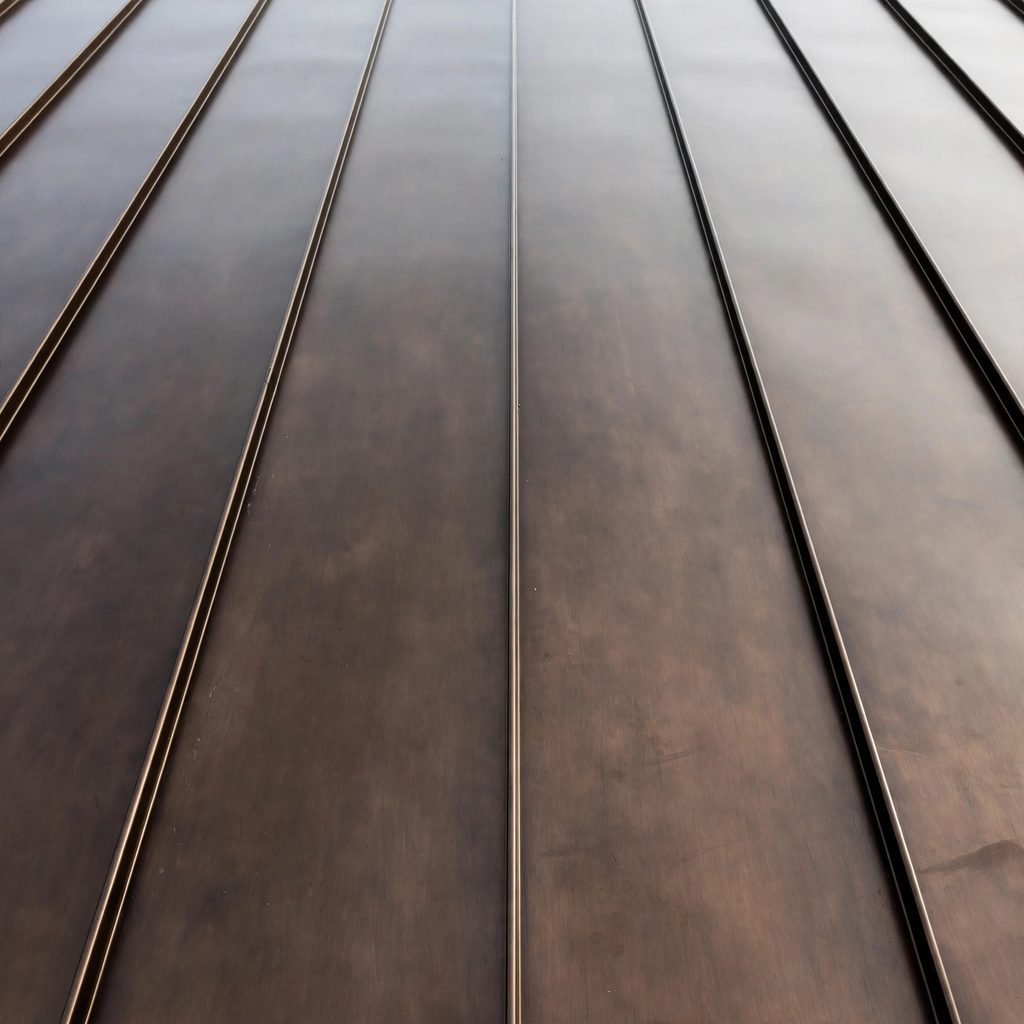
The moisture content in the ceiling and framing below the suspect joint is read. It shows whether the leak is active and how far the water has spread, so the right area is fixed.
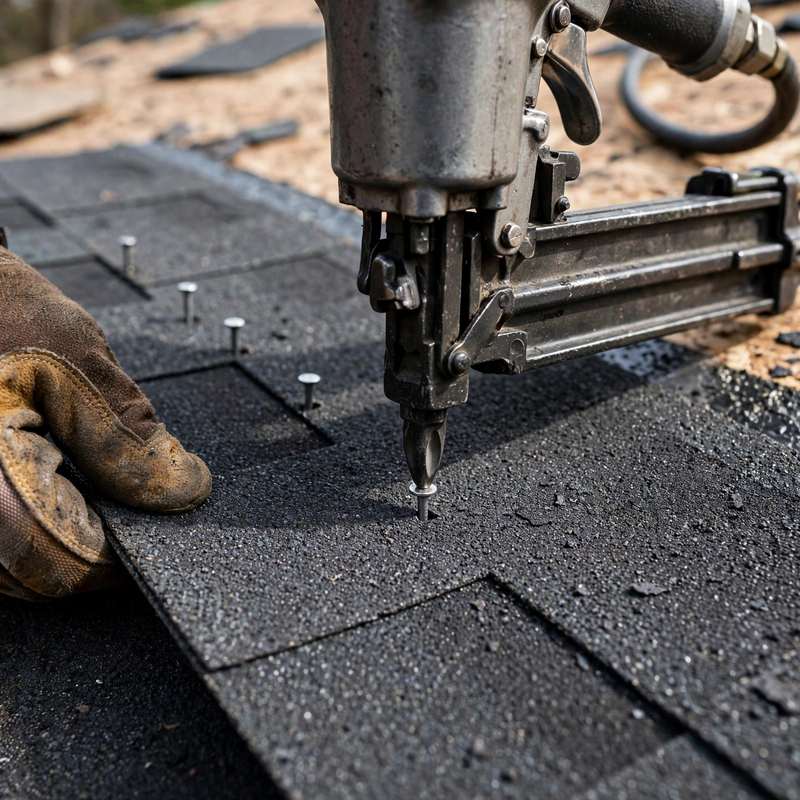
Shingle courses around the joint are lifted without breaking them, and old sealant and failed flashing are cut away. Careful tear-out is what lets the shingles re-lay cleanly.

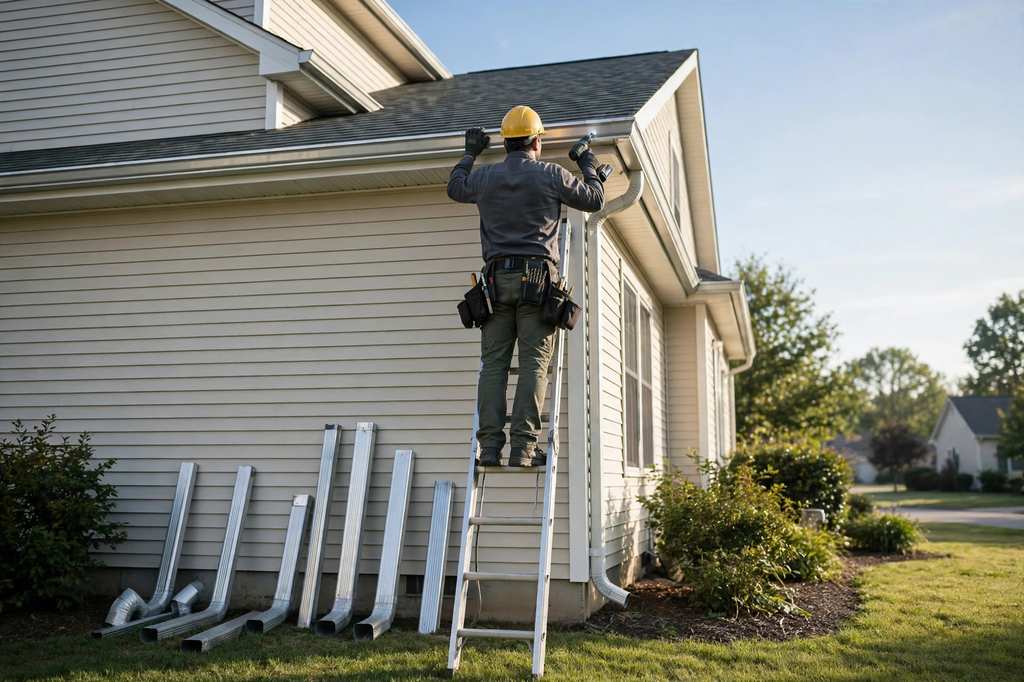
The ladder is set on stable footing and tie-off is used on steep pitches. Safe access means the detail at the chimney and valleys gets careful work instead of rushed work.
Thermal views are illustrative, generated from the photographs.
The chalk line keeps flashing runs straight and evenly lapped. The compressor runs the nail gun and blows debris out of the joint before sealing, so the sealant bonds to a clean surface.
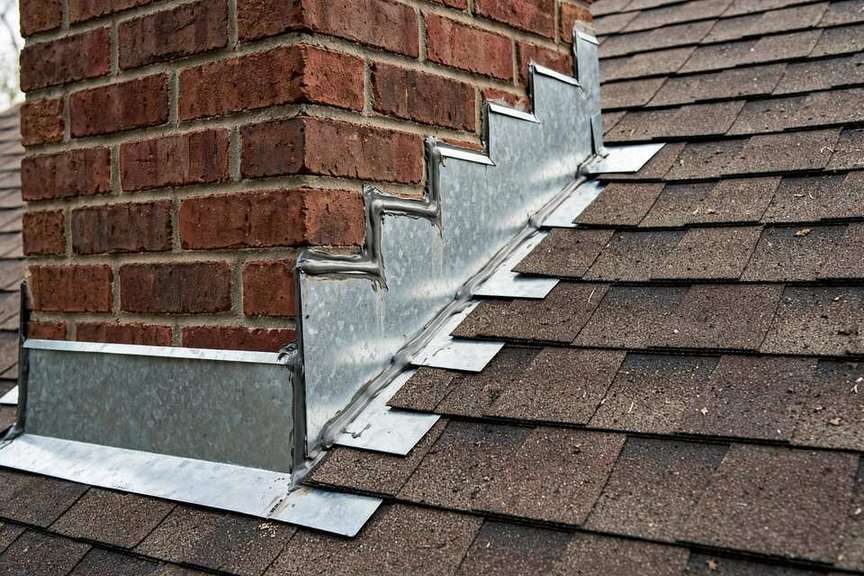
Step flashing goes in one piece per shingle course, lapped so each piece sheds water over the one below. It is the code-correct method for sidewalls and the detail that keeps a wall dry through driving rain.
New ice and water shield is set under every flashing joint before the metal goes down. It is the backup layer that catches any water that gets past the flashing, and the 2018 IRC requires an ice barrier at the eaves.
After the flashing is installed, water is run over the joint and the ceiling below is checked with a moisture meter. It confirms the repair works before packing up, instead of waiting for the next storm to find out.
The written installation spec for the flashing system on the roof is followed. No brand is named on this site.
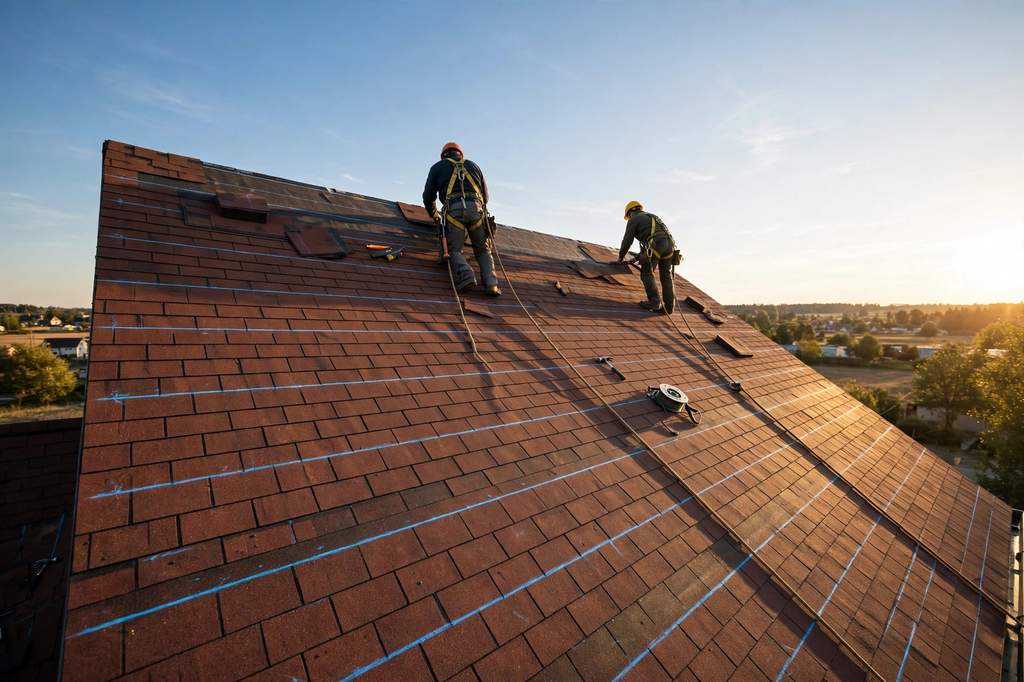
A ceiling stain appeared after a hard rain and the roof is only eight years old.
The flashing joints are inspected first, since a young roof usually fails at a penetration before the shingles wear out. The chimney, vents, and sidewalls are hose-tested, the entry point is found, and that joint is repaired or replaced.
Outcome: The leak is addressed, the stain dries out, and a premature roof replacement is avoided.
A home purchase inspection flagged rusty flashing at the chimney.
The flashing is inspected and a written scope for the repair is provided before closing. If the deck is sound, it is a flashing-only job. If there is rot, that is scoped too so there are no surprises after moving in.
Outcome: The negotiation uses real scope items instead of a guess, and the repair is documented for the file.
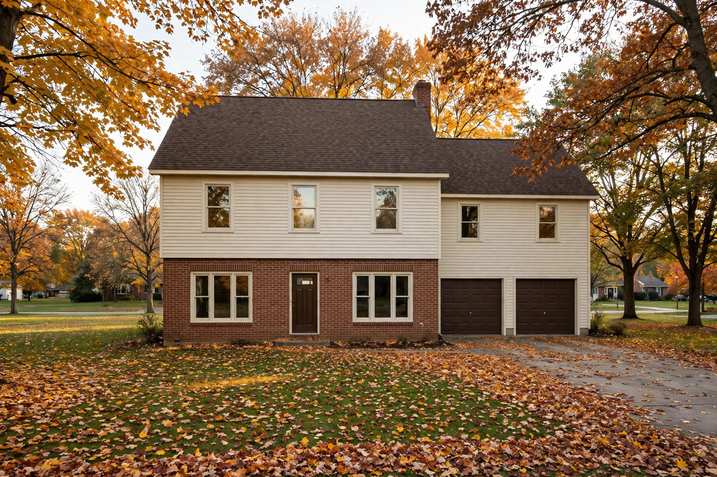
A spring hail storm dented the metal flashing.
The hail damage to the flashing is documented with photos and a written report, then the damaged pieces are replaced with new material matched to the roof. The documentation is written for the insurer's file. Check the policy, agent, or carrier for coverage questions; this is not insurance advice.
Outcome: The flashing is replaced with material matched to the roof, and a photo record of the before and after goes on file.
A commercial building has a leak at a rooftop curb that nobody can locate.
The membrane flashing at every curb, vent, and wall joint is inspected, and a moisture meter traces the water back to its entry point. Then the failed flashing is replaced and the joint is re-tested.
Outcome: The leak is addressed at the source, documented with photos, and the repair is arranged around tenants so business stays open.
A new roof is being installed and the flashing needs doing right the first time.
New flashing is built into the roof installation schedule, not added on after. Every penetration gets new metal, new ice and water shield, and a hose test before the job is closed out.
Outcome: The new roof is sealed at every joint from the start.
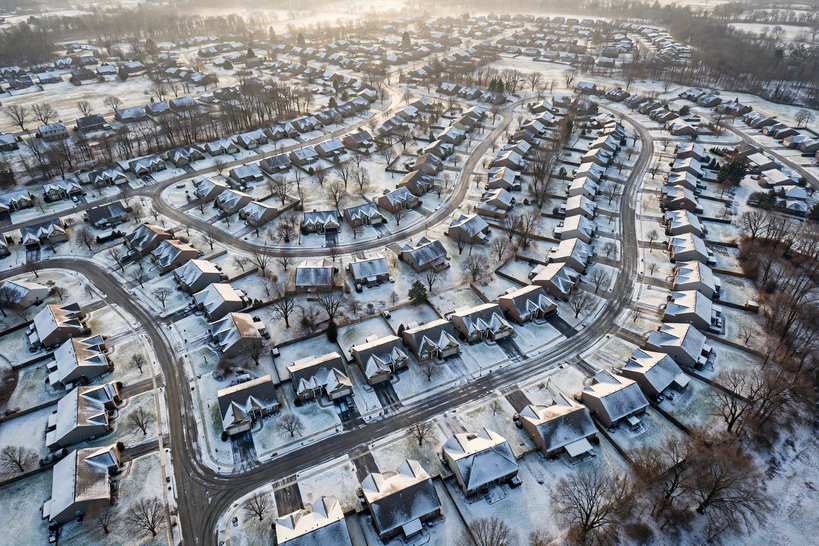
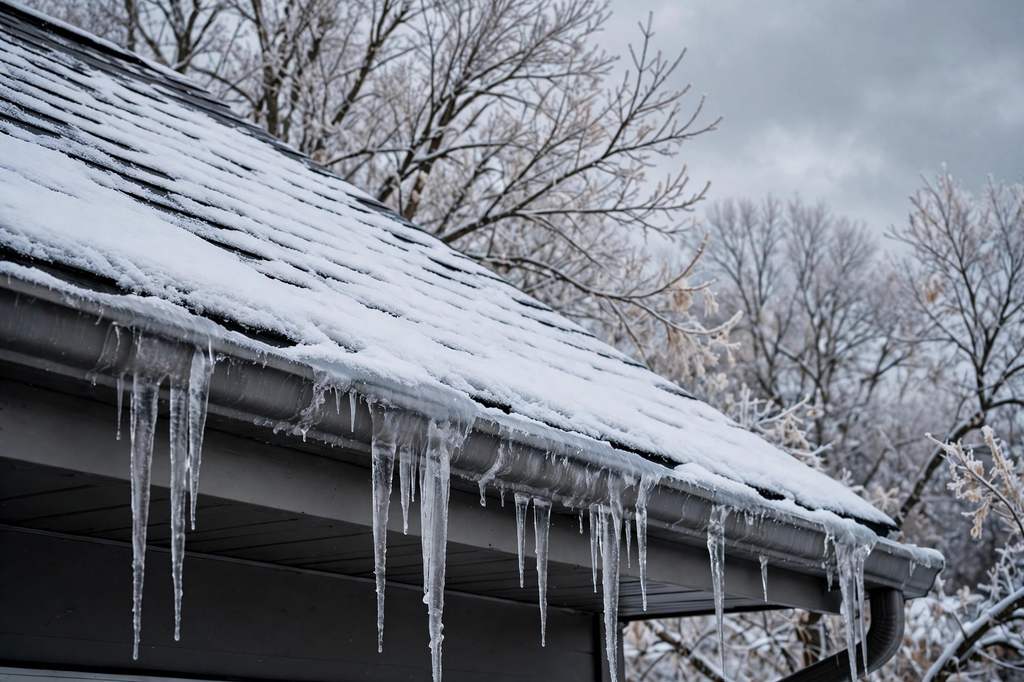
The local climate is hard on flashing. Freeze-thaw cycles run from November through March, and water that gets behind a failed joint freezes and pries the seam open wider each winter. Spring brings hail and wind-driven rain, and summer UV dries out rubber vent boots.
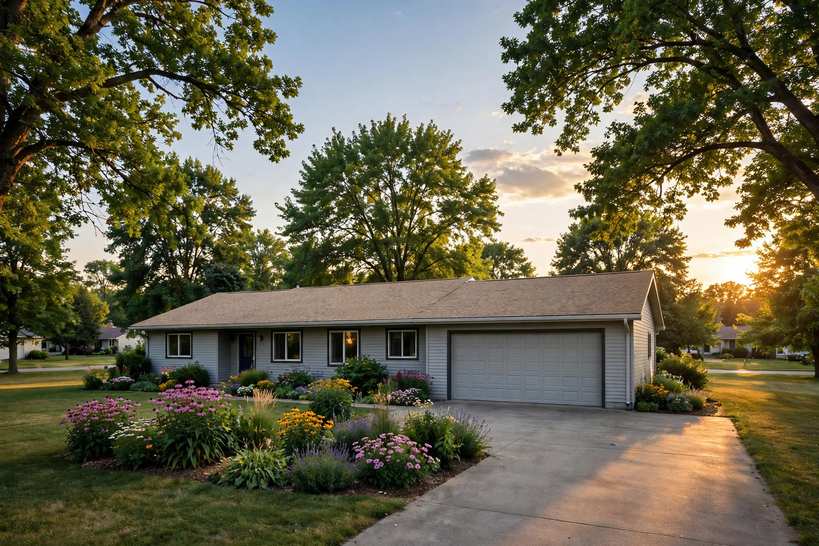
The housing stock matters too: mid-century ranches often have original chimney flashing that has rusted through, while newer builds have skylights and complex rooflines with more joints to seal. Every joint is built to the City's adopted 2018 IRC, with ice and water shield in the valleys and along the eaves.
A repair-or-rebuild answer comes from the inspection: whether a repair will hold or the joint needs a full rebuild is stated plainly. Call (641) 219-5108 to arrange a visit.
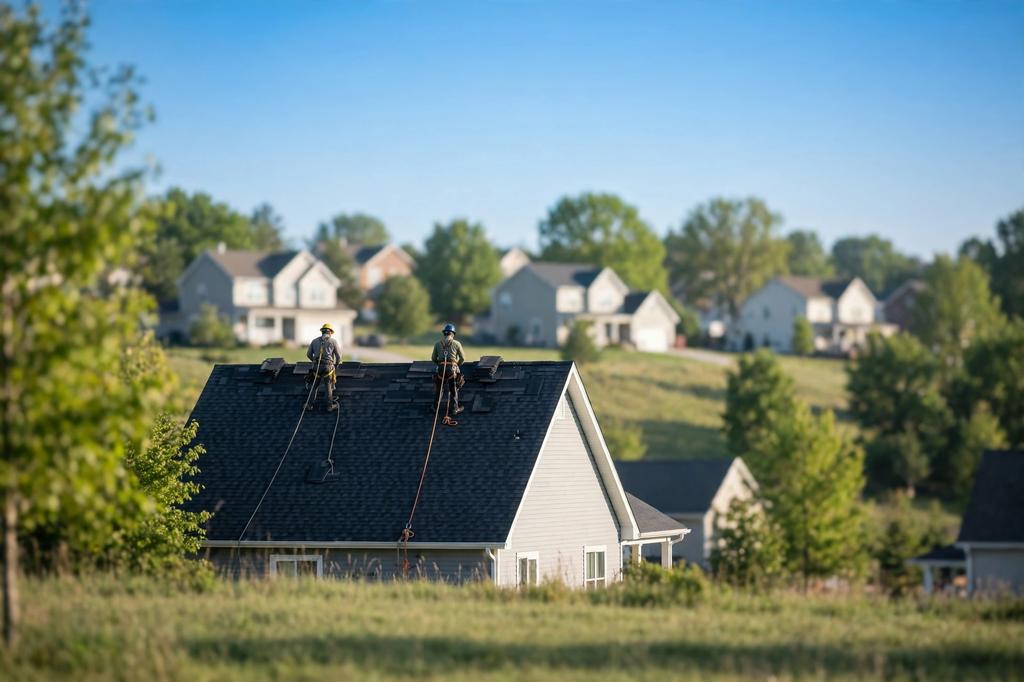
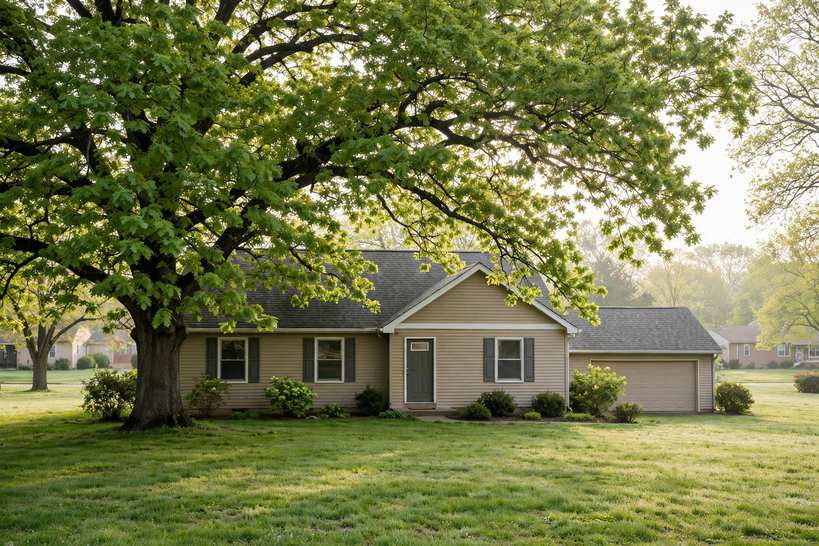
Before: A mid-century ranch had a ceiling stain in the hallway that got worse every rain. The chimney counter-flashing had rusted through and pulled away from the masonry, and water was running down the chimney into the attic insulation. A full roof replacement had been suggested elsewhere.
After: The chimney flashing was rebuilt with new metal, ice and water shield, and a sealed counter-flashing joint. The hose test read dry, and the ceiling stain stopped spreading after the next storm.
Check the chimney collar each fall and re-seal the joint when the sealant shows movement. A yearly look catches rust before it becomes a leak.
Before: A two-story had water dripping from a bathroom ceiling fan after heavy rain. The rubber vent boot on the plumbing stack had cracked after years of UV exposure, and water was running down the pipe into the ceiling. A failing roof had been suspected.
After: The boot was replaced with a new metal collar matched to the pipe size, set in sealant, and fastened to the deck. The leak stopped, and the ceiling dried out with no further staining.
Rubber boots age in sun and freeze-thaw. They are checked at every inspection visit and replaced before they crack, which costs less than a ceiling repair.
Before: A skylight leaked after every spring storm. The glass had been re-sealed twice, but the leak kept coming back. The actual problem was the flashing collar at the curb, which had been installed with too few fasteners and had lifted at one corner.
After: The old flashing kit was removed, a new one was set to the manufacturer's spec, and the correct fasteners and sealant went in at the curb. The hose test showed no water intrusion, and the leak did not return through the following storm seasons.
Skylight flashing is checked at every inspection and the curb joint is re-sealed as needed. Catching a lifted corner early prevents the ceiling damage that follows.
Most roof leaks called in trace back to one of these flashing failures. Here is what they look like and what is done about them.
A sealed joint keeps water out and the roof investment intact.
Most ceiling stains trace back to a failed chimney or wall flashing, not the shingles. The actual entry point is located with a moisture meter and a hose test, then that joint is rebuilt. No more guessing, no more patching, and no more water running down framing after every storm.
Flashing has to be layered in the right order and lapped the right direction to shed water. Each joint is built to the City's adopted 2018 IRC and manufacturer specs, so it holds up to inspection and to the freeze-thaw cycles that split poor work apart. Correct install the first time avoids a callback later.
Painted metal, ice and water shield, and membrane components hold up to hail, UV, and thermal movement better than thin builder-grade material. No brand is named on this site.
A new roof is only as good as its weakest joint. If flashing fails, water gets into the deck and the shingles above it start to curl and lift. Sound flashing is the least expensive way to extend the life of the whole system.
Clear records to keep and share.
Before and after images of the joint
Materials and work listed plainly
Hose test and meter readings noted
What was replaced and when
Not every flashing failure needs a full rebuild. The deck condition and the shingle age decide it.
Sound deck and pliable shingles around the joint
Rusted or lifted flashing with sound decking
Brittle shingles or soft decking at the joint
A mailing address can carry a neighboring city's name, and an Urbandale address can carry a neighboring ZIP code. A parcel record settles which city governs an address. Call and ask about a specific street.
The pages below hold roofing information for Urbandale plats and districts. Each page describes its area. Call and ask about a specific street.
This business publishes no prices on this site. A written scope lists the joint, the materials, and the work before anything starts, so a vent boot, a chimney re-flash, and a valley rebuild are each visible as separate items.
Flashing is the only thing keeping water out of the joints shingles cannot cover, and freeze-thaw cycles work those joints hard. Water gets behind a failed flashing, freezes, and pries the seam open wider. That is why flashing failure is one of the most common causes of roof leaks here.
Yes, in most cases. If the shingles around the joint are still pliable and the deck is solid, the courses are lifted, the flashing is replaced, and the shingles are re-laid. A full replacement is recommended only when the shingles are brittle, the deck is soft, or the failure has spread.
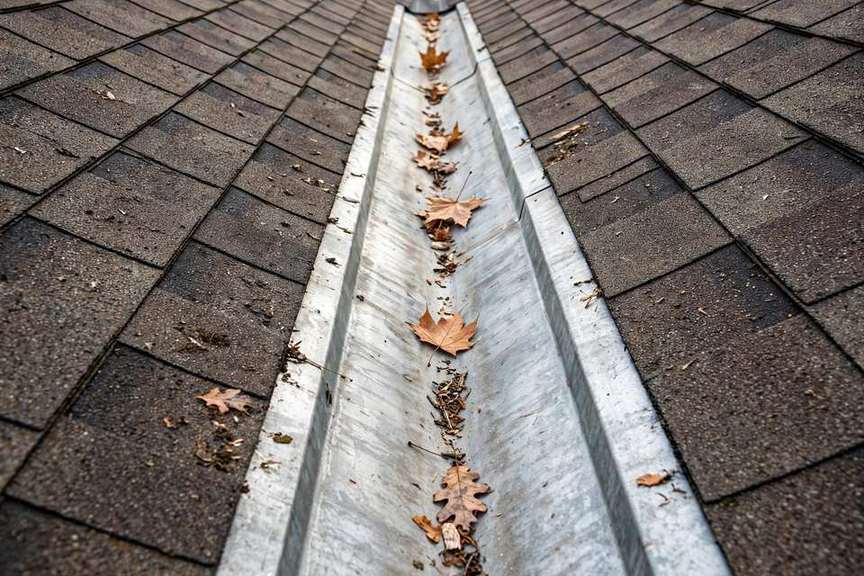
Chimneys, sidewalls, valleys, skylight curbs, vents, and drip edges. Each joint gets its own detail: step flashing at sidewalls, counter-flashing at chimneys, valley metal or membrane in valleys, and boots or collars at vents.
Related pages from the services list.
If a ceiling stain or a rusted chimney collar has shown up, call Rocc Solid Construction at (641) 219-5108 to arrange a roof walk and a written scope. The listed hours are Open 24 hours, every day.
Call (641) 219-5108 to talk about a roofing question. The office is at 3815 109th St, Urbandale, IA 50322, United States, and the listed hours are Open 24 hours, every day.